
An internet connection through cable or wireless is very common these days. Most Wifi connections come with routers with easy to use features. This makes it very convenient for people to use the internet. However, there is an annoying problem that most people connected to wireless face. When a lot of users use the network, some users constantly use all the available bandwidth by downloading torrent files or streaming high-quality videos.
So, how do you solve this issue?
The first that you can consider is to talk to the people directly. Ask them to adjust their internet usage so that they don’t use up all the connection and stress the router. In case they ignore your suggestion, you can cut off their internet connection through ARP spoofing. However, it is advised to use this at your own risk as misusing this method is unethical.
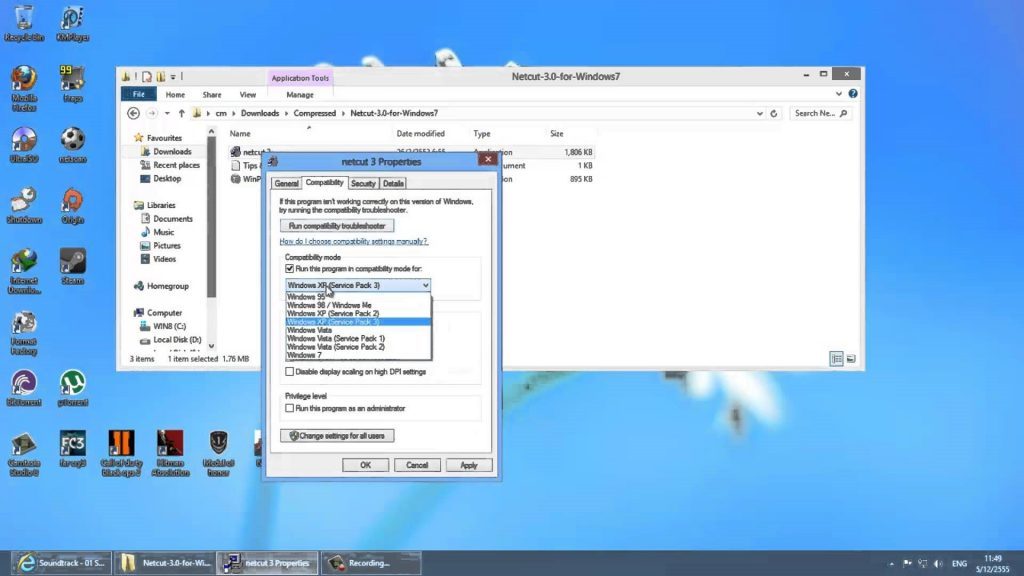
Netcut is a popular Windows program that can cut off a connection from the common network. Downloading and installing the program is very simple. Follow these steps for download and use:
- Download the Netcut software and then install it.
- Run the software.
- Select between IP/ hostname/ MAC address but select a different mode.
- Cut off or limit the host network.
Wait for a few seconds for the program to take effect.
Note: When running this software, make sure that you are logged in as an administrator.
Use of the program:
- Detect users in the network
- Protect the user details.
- Cut off network between two users when they are connected to your LAN network
- Scan the network to ensure safety within the network.
- Know the type of phone connected to your LAN network.
- Detect attackers in the network and cut them off from the network.
- Save the name of the network user to identify trusted users.
- Limit the number of devices connected to your network.
- Change the MAC address of the adopter connected to your PC.
- Clone any MAC address of any device connected to your network.
The program automatically runs when you startup Windows. When you feel that you no longer need the program, you can follow these steps to disable the services:
- Open up the run dialog box (Win+R) and type services.msc and press the Enter key.
- Double click on “Arp Intelligent Protection Service” from the list
- Click on the drop-down menu for startup type and select “Disabled”
- Now, click the “Stop” button followed by the OK button. The changes will thus be applied and the service stopped.
Using this software is easy and convenient. With so many amazing features, this is something you definitely should consider having if you face bandwidth hog problems.
We hope you found this article useful and informative. If you have any queries about the software feel free to let us know in the comment section below. We will do our best to answer your queries. Show your support by sharing this post with your friends on social media. We would really appreciate that. Thank you very much for reading!